Skip to main content
從這裡開始
API Docs
PayNowAPI文件
ComponentsDocs
PayNow 立吉富
交易輕鬆付
立即開始
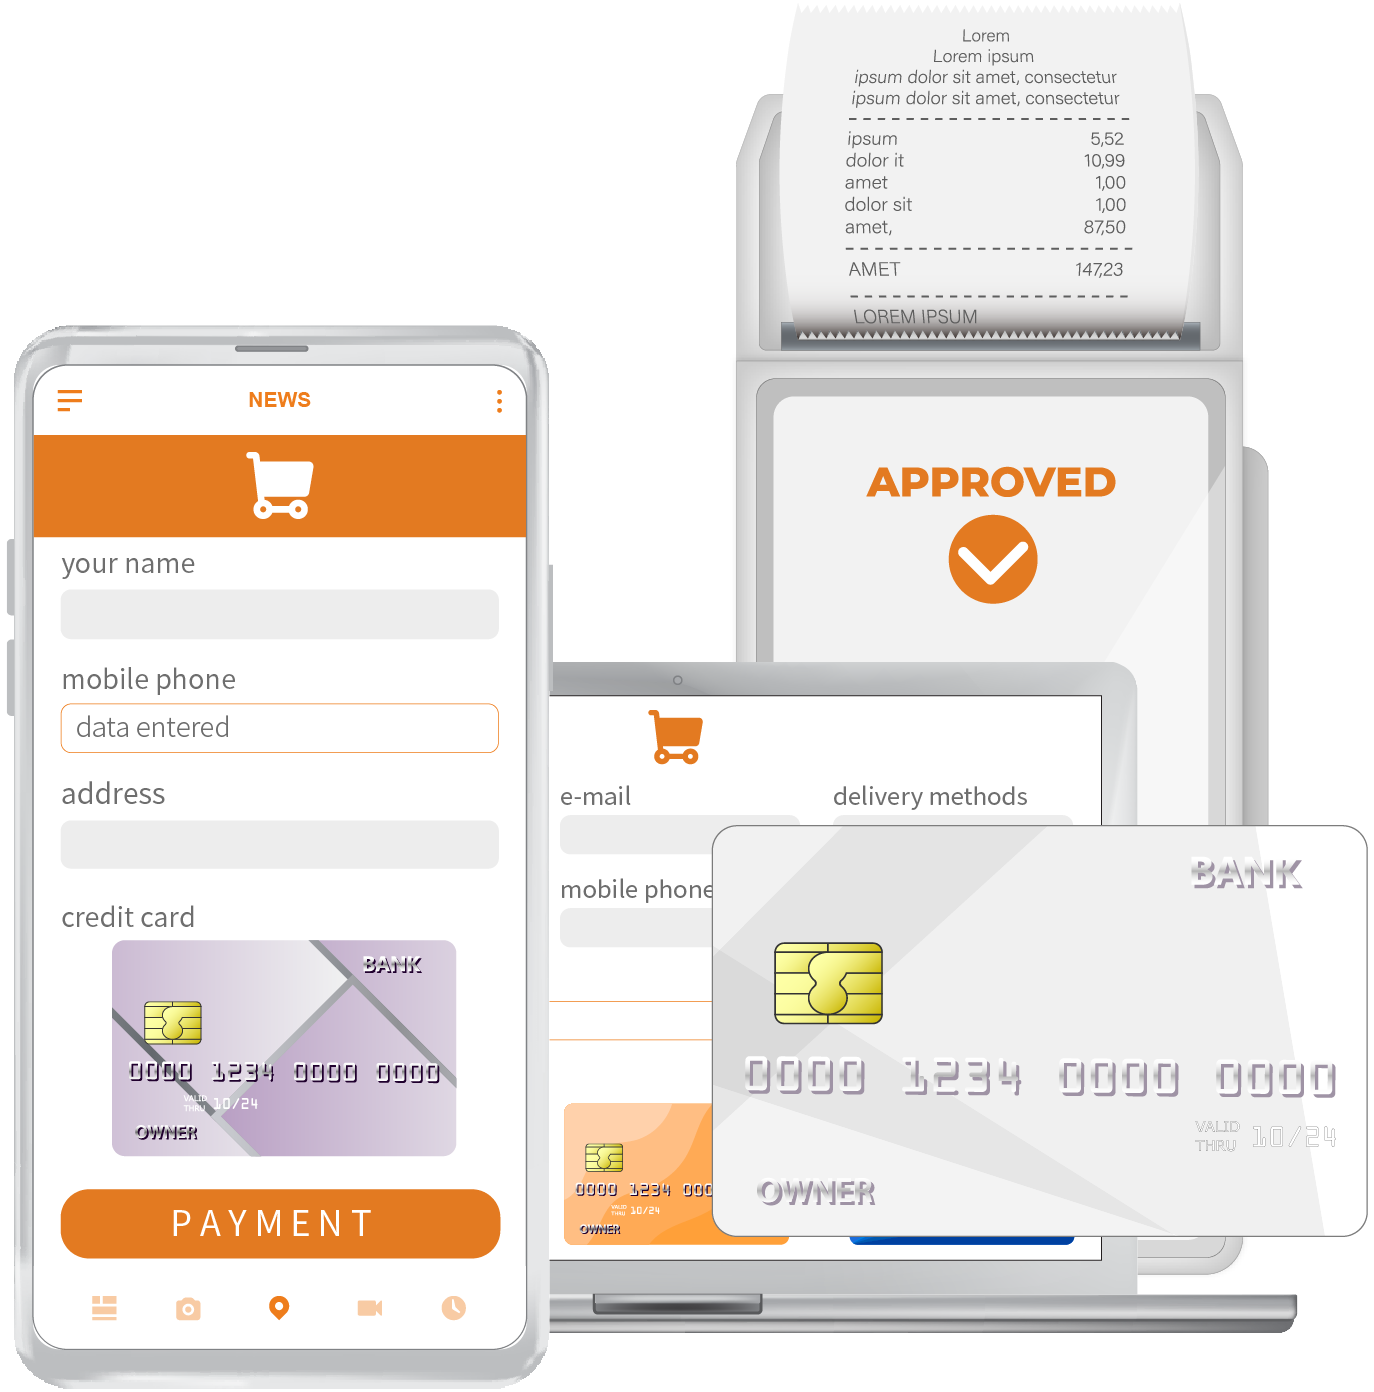
多元付款 輕鬆交易
結合業界最安全,最快速,簡便網路交易付款機制
讓付款變得更簡單
以智慧型手機就能輕鬆完成付款,安心享受,便利支付新生活!
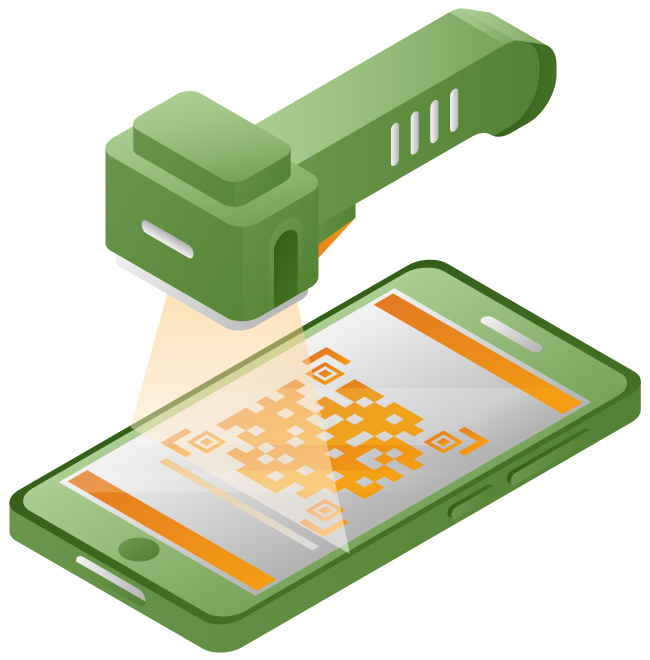
多樣寄件,便利取貨
全年無休,寄送服務,安心又便利。